LET THERE BE LIGHT
January 16, 2012
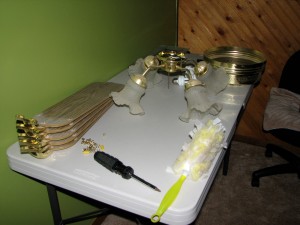
So yeah. One of the things that annoys me the most about being a homeowner is that we inherited all the bad taste of the previous owners. Let’s just say they liked wood. A lot. Anyway, one of the small things we’ve been doing to really spruce things up and give it our flare is to replace the lighting. SO much of it was so tacky, it’s awful…and the top of my priority list was to remove the fugly fan that lived downstairs.
To set the stage, I’ll say that we probably have seven foot ceilings, so it’s kind of low to begin with. Then there was a giant monstrosity of a fan, with wicker inlay and flower-shaped glass shades. Teh awesome to be sure.

Kind of like this one.
So we decided to get a nice and compact light that would provide plenty of brightness but MUCH less visual space.

Now, I kind of like replacing our lighting fixtures because it makes me feel like a badass. The first step was to shut off the breaker. ALWAYS do this. It hurts to get shocked. Once you’ve had someone else touch the wire to make sure its off (just kidding..kind of), start taking pieces off. We started with the blades, then shades then the fixture, then the ring, then the remaining pieces.
After removing all the pieces, you should be left with an inset box with two to three wires. One black one, one white one, and one that is usually the ground, and is often green.
It’s a little hard to tell in this picture because the plate is in the way, but the far right wire is black, the middle is white, and the third is a copper wire on the left.
We removed the plate because it was a right pain in the ass.
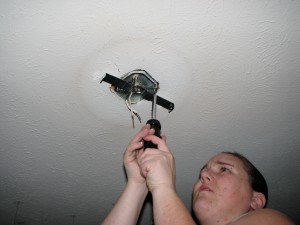
Next we removed the components of the new light. We put up the initial bracket-
The dust ring is disgusting. I’m also not sure why I look so concerned. Don’t worry, I didn’t cry.
Next twist your wires from the fixture to the wires in the box. White to white, black to black. Make sure they’re secured, then twist a nut on to the end to secure it. You can also wrap it with electrical tape.
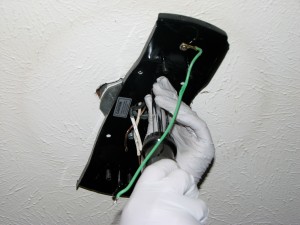
Next the ground wire, or green wire should be either screwed under a green screw (as in this case) or wrapped around part of the metal framework.
Our screw was green and said GRND so we knew where to go. The wire was wrapped underthe screw, which was then secured.
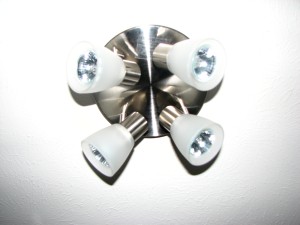
Then the fixture goes on to the bracket. Screw it on, place the shades on, the bulbs, and voila!
We wound up with a light I wasn’t embarrassed to own. I chose the moveable track lighting to spread the love since this one light covers a large space. It’s a nice way to spruce up a drab looking area.


